
And finally the long awaited (by me anyway;)) post about a lovely yet tiny moor ;) The title of this particular post just popped into my head at the very thought of the word "moor". It's always my first association - "The Hound of the Baskervilles" by Arthur Conan Doyle and everything that's connected: wild moors of Dartmoor (Devon), blankets of mist and a dark secret ;) If you like reading, I'd really recommend the novel. If you don't like reading... well, I'd still recommend it but in the form of a film. There've been lots of screen versions but I just love the one from 1988 (Jeremy Brett as Holmes). Great atmosphere, amazing actors, a beautiful setting and a really compelling story :)

Looking outside at the rain I suppose I'll watch it again soon, Sherlock Holmes and the autumn weather kind of match up, don't you think?
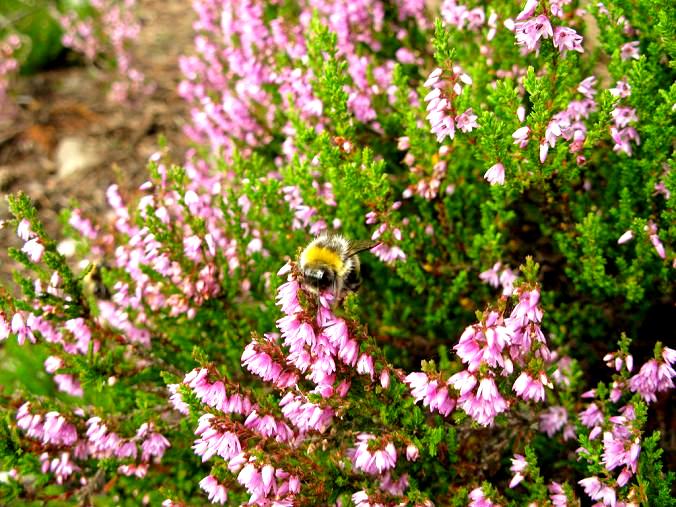
And here's my tiny piece of "the wild moores", you can even find a Baskerville hound or two in some of the photos :P


Here's what it looked like while 'under construction' (taken with my mobile so...you know):


I completely forgot to take some photos before or while digging.

Before starting with the whole project (as usual) I'd read a lot about heathers and 'researched' the subject to avoid any major mistakes so while I'm at it I'll share all the important stuff I've learned ;) September is the perfect time to plant heathers - you can see the colours of the flowers and match different types to achieve a colourful display. The plants need a sunny spot that's covered from strong wind. They look beautiful with Junipers and Rhododendrons.


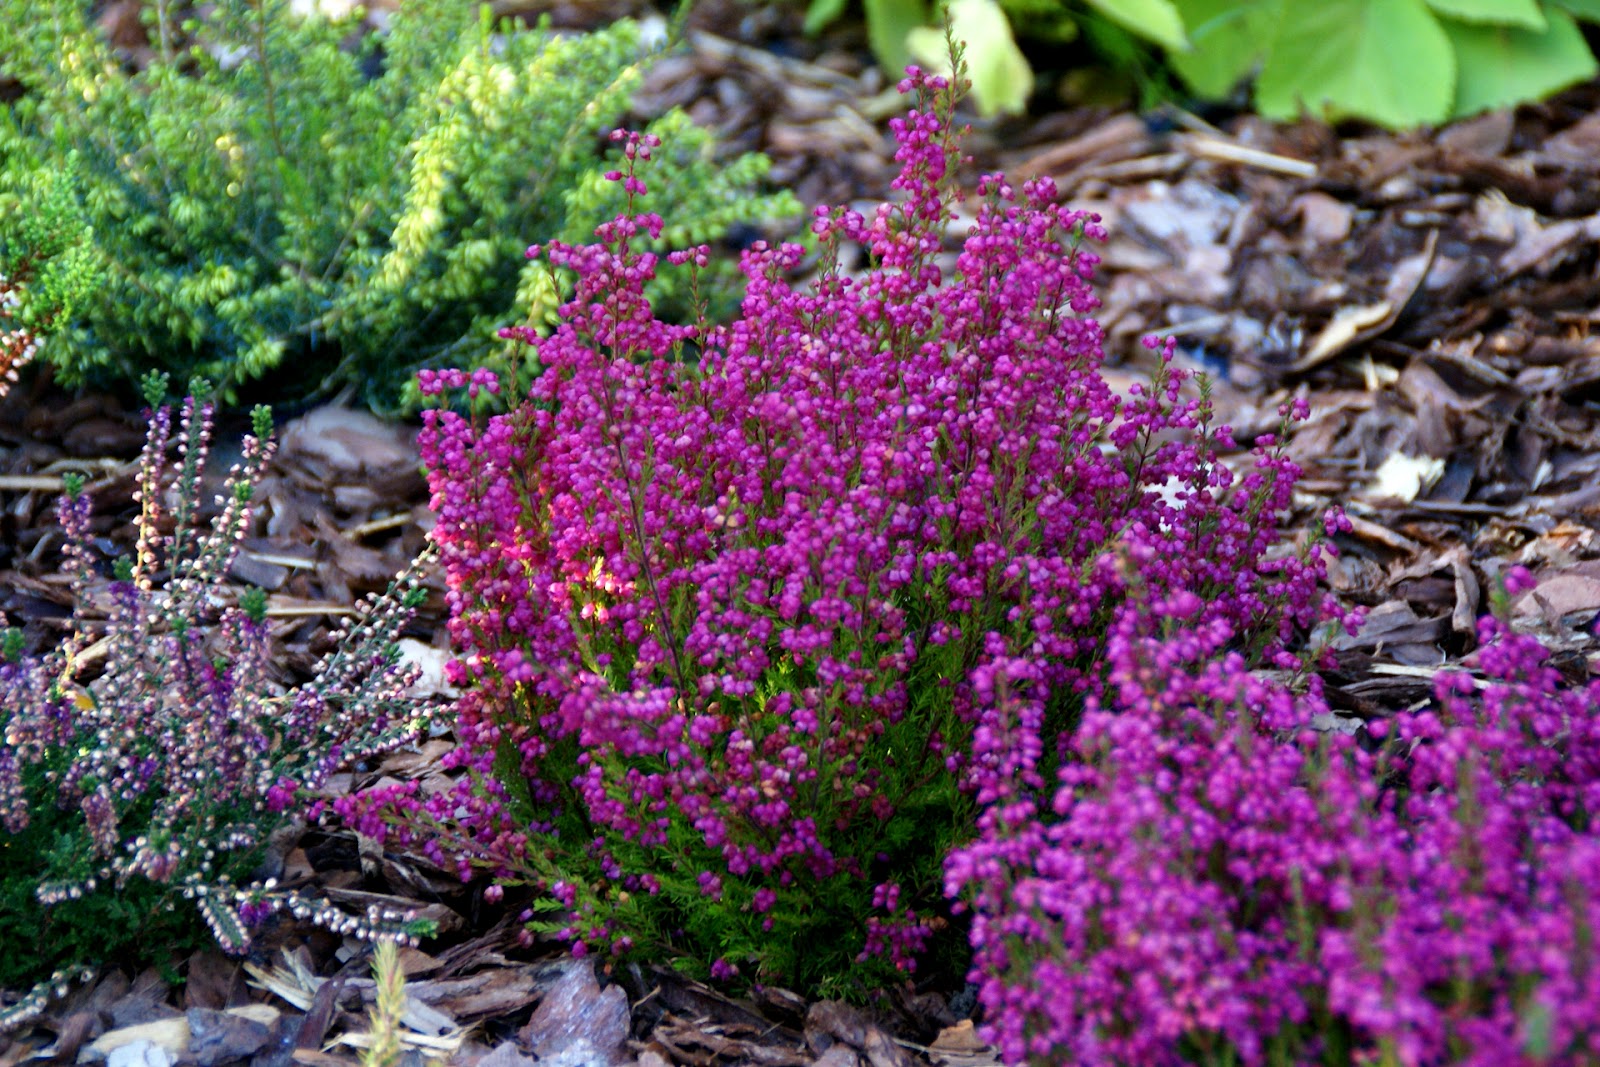
I used 28 heathers in a few types (it's best to plant them in groups - at least three plants of the same type, you'll avoid a motley chaotic look). I also needed three bags of peat soil (heathers thrive in acid soil - pH 4,5-5,5), two bags of potting soil and two bags of bark chippings. While planting heathers make sure you prepared their spot really thoroughly. That's why I spent the whole first day on removing the soil from the place you can see in the photo above. Removed about 20cm deep and replaced with a mix of peat, potting and local soil. I then spread a lot of nonwoven crop cover and arranged the plants in their spots. The next day was all about planting the heathers and it's not as easy as it looks, actually it's really hard work :P Remember about the spacing, leave enough to let the plants develop, it's usually about 15-25cm between two heathers. When finished, spread a layer of bark (which will also acidify the soil when decomposing).

After all the work, water thoroughly and you can officially start to enjoy your mini moor :)
I really recommend using mycorrhiza fungi for ericaceae plants. They are supposed to grow a lot more vigorously after a few months with mycorrhiza. You can buy it in different forms but gel is said to be the best. Just make two small holes next to each plant's roots and squize some gel out from the bottle, cover with soil and water.
Now the only thing I have to remember is to cover my heathers with conifer twigs after first ground frost (if the temperatures during winter fall to -10C and lower, the plants won't survive).
You can find some more information about caring for a heather plant here.


The photos don't really portray the beauty of these plants, they are so colourful and cheerful. I'm actually as pleased as punch with the results :) so if you have enough place (sunny!) in your garden, try! It's just magic ;)

Have a great week :)

I'm linking this post to:


No comments:
Post a Comment